How to Fix Laptop Charger Wire: A Step-by-Step Guide for 2024
Introduction
A functioning laptop charger is essential for keeping your technology up and running. When your charger wire becomes damaged, it disrupts your workflow and can lead to unnecessary expenses if not addressed quickly. Whether it’s from everyday wear or accidental damage, addressing this common issue effectively saves both time and money. This guide provides detailed steps on diagnosing and repairing laptop charger wires safely and efficiently.
Safety First: Preparing for Repair
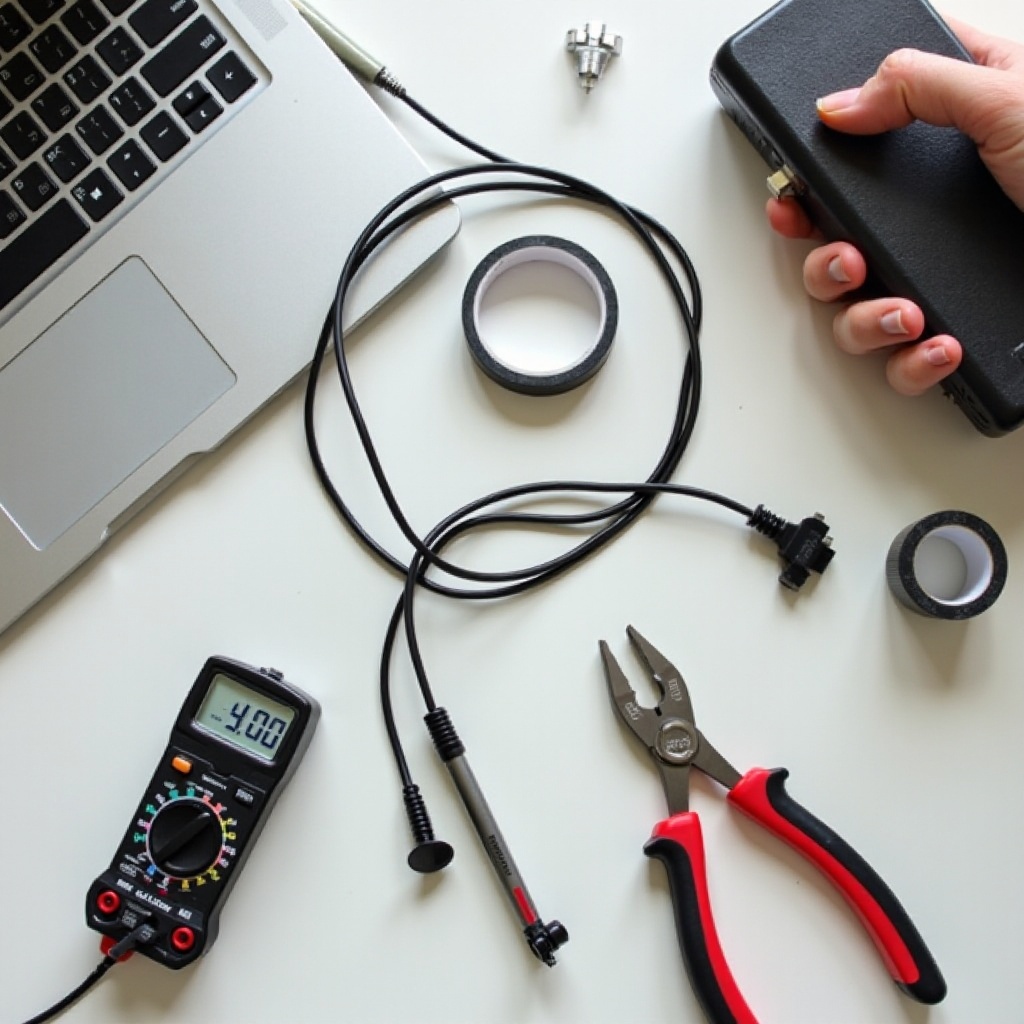
Before starting the repair, ensure safety is your top priority to prevent any electrical hazards. Gather necessary tools like a multimeter for testing, wire strippers, electrical tape, and potentially a soldering iron for more durable solutions. Make sure you’re working in a dry environment and that your charger is unplugged from any power source. Wearing rubber gloves can further reduce the risk of electric shock. Now that you’re prepared, let’s dive into diagnosing the problem.
Diagnosing the Problem
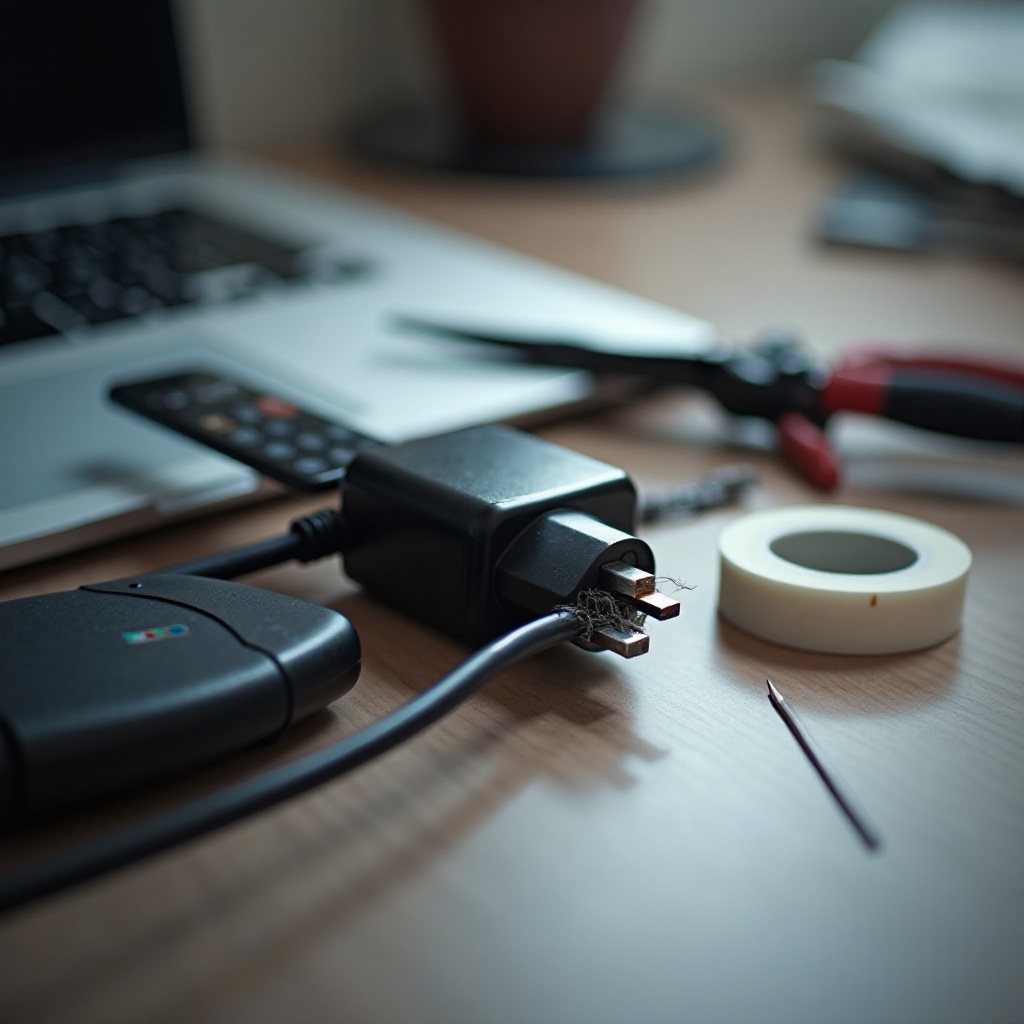
The first step in repairing your charger wire is correctly identifying the issue. Conduct a visual inspection to check for frays, kinks, or any exposed metal that could indicate damage. Use a multimeter to test the electrical continuity of the wire; this will help you identify if current can pass through adequately. Knowing the exact source of the problem will help you choose the best method for repair, setting you up for success in the next steps.
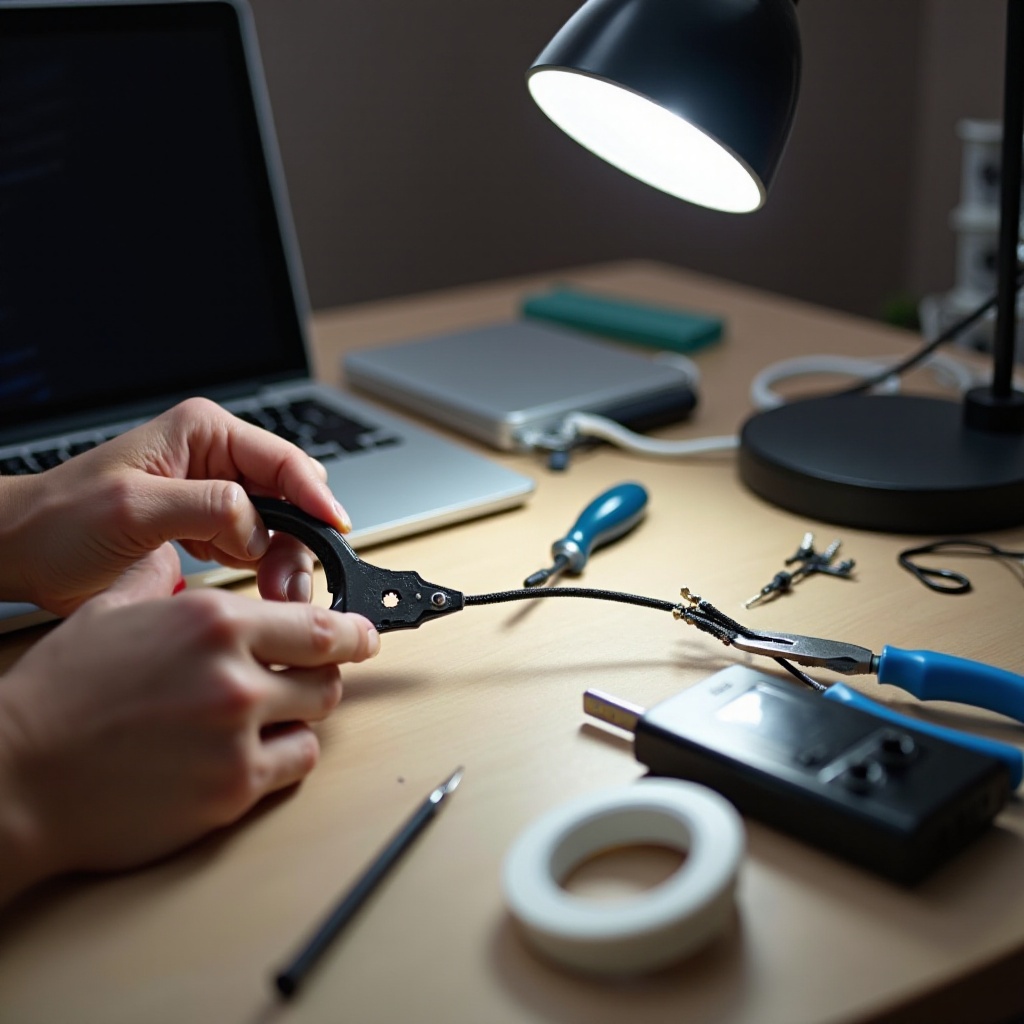
Repair Techniques for Laptop Charger Wire
With the issue clearly identified, it’s time to repair the damage. Here are some effective repair techniques:
-
Inspecting and Preparing the Wire: Confirm the area around the damage is clean and dry. Wipe using a soft cloth to remove any dirt or moisture.
-
Stripping the Wire for a Clear Connection: Use a wire stripper to gently remove insulation from the wire ends. Be careful not to cut into the metal strands. Expose enough wire for a solid connection, ensuring no excess metal is left bare.
-
Repairing with Soldering Iron vs. Electrical Tape: For a quick fix, tightly wrap electrical tape around the exposed area. For a more permanent solution, use a soldering iron to fuse the broken wire ends together, then cover the joint with heat shrink tubing or secure it with electrical tape for extra protection.
Employing the correct repair technique enhances the durability and functionality of your charger wire, ensuring it continues to perform well.
Testing the Repaired Charger
After completing the repairs, it’s crucial to test the charger’s functionality. Connect the charger and observe your laptop’s charging indicator. A steady charge signal indicates a successful repair. If issues persist, review your repair work for any loose connections or incomplete fixes. Confirming the charger works effectively gives you peace of mind and prevents future complications.
When to Consider Replacing the Charger
Sometimes, even thorough repairs can’t solve every problem, and replacing the charger is the better choice. Consider buying a new charger if:
- The cost of repairs approaches or exceeds the price of a new charger.
- The charger has multiple problems, including the adapter or connector parts.
- There’s a risk of electrical hazards due to severe damage.
Opting for a replacement ensures your safety and guarantees a reliable power source for your laptop’s ongoing performance.
Prevention Tips for Prolonging Charger Life
Preventive maintenance can save you from the hassle and expense of frequent repairs:
- Always disconnect your charger by pulling on the plug, not the cord, to avoid damage.
- Store your charger in a safe, dry, and cool place away from potential stressors.
- Avoid tightly coiling the cord, as this can lead to unnecessary stress and damage.
By following these simple yet effective strategies, you can prolong your charger’s life, keeping your device charged and operational when you need it most.
Conclusion
Fixing a laptop charger wire is a straightforward task that can extend the life of your device’s power supply considerably. Following these systematic steps and prioritizing safety allows you to effectively repair common charger issues. Additionally, adopting preventive measures helps keep your charger in good working order, ensuring excellent performance from your device in the long run.
Frequently Asked Questions
Can a damaged charger wire be dangerous to use?
Yes, a damaged charger wire can pose risks of electrical shock or short circuits, compromising safety and device functionality.
How often should I inspect my laptop charger for damage?
It is advisable to inspect your charger every few months to identify wear and tear early, preventing more serious issues.
Is it better to repair or buy a new laptop charger?
The choice depends on the damage extent. Minor issues may be fixed easily, but significant damage or multiple problems may necessitate a new charger.