
How to Share Screen in Laptop: A Comprehensive Guide
Introduction
Screen sharing has become an essential tool for remote collaboration, enhancing productivity across business meetings, virtual classrooms, and online presentations. Mastering the art of screen sharing can significantly improve communication efficiency. This guide will take you through various methods to share your screen, using both built-in features and third-party applications. Additionally, we’ll cover security measures and troubleshooting tips to make your screen sharing experience safe and smooth. By the end of this guide, you’ll be equipped with the knowledge to handle screen sharing effortlessly.
Preparing Your Laptop for Screen Sharing
Before you start screen sharing, it’s vital to prepare your laptop to ensure a smooth experience.
Checking System Requirements
Firstly, ensure your laptop meets the system requirements for the screen sharing software or platform you’ll use. This might include checking your operating system version or verifying that your hardware provides sufficient RAM and CPU power.
Updating Necessary Software
Having up-to-date software is crucial for smooth screen sharing. Software updates often deliver bug fixes and security improvements that enhance connectivity and add features.
Setting Up Connectivity
A reliable internet connection is fundamental, as screen sharing demands considerable bandwidth, particularly for high-resolution or multimedia content. Ideally, use a wired connection for stability, although robust Wi-Fi should suffice.
Now that your laptop is prepared, let’s delve into the screen sharing options integrated with your operating system.
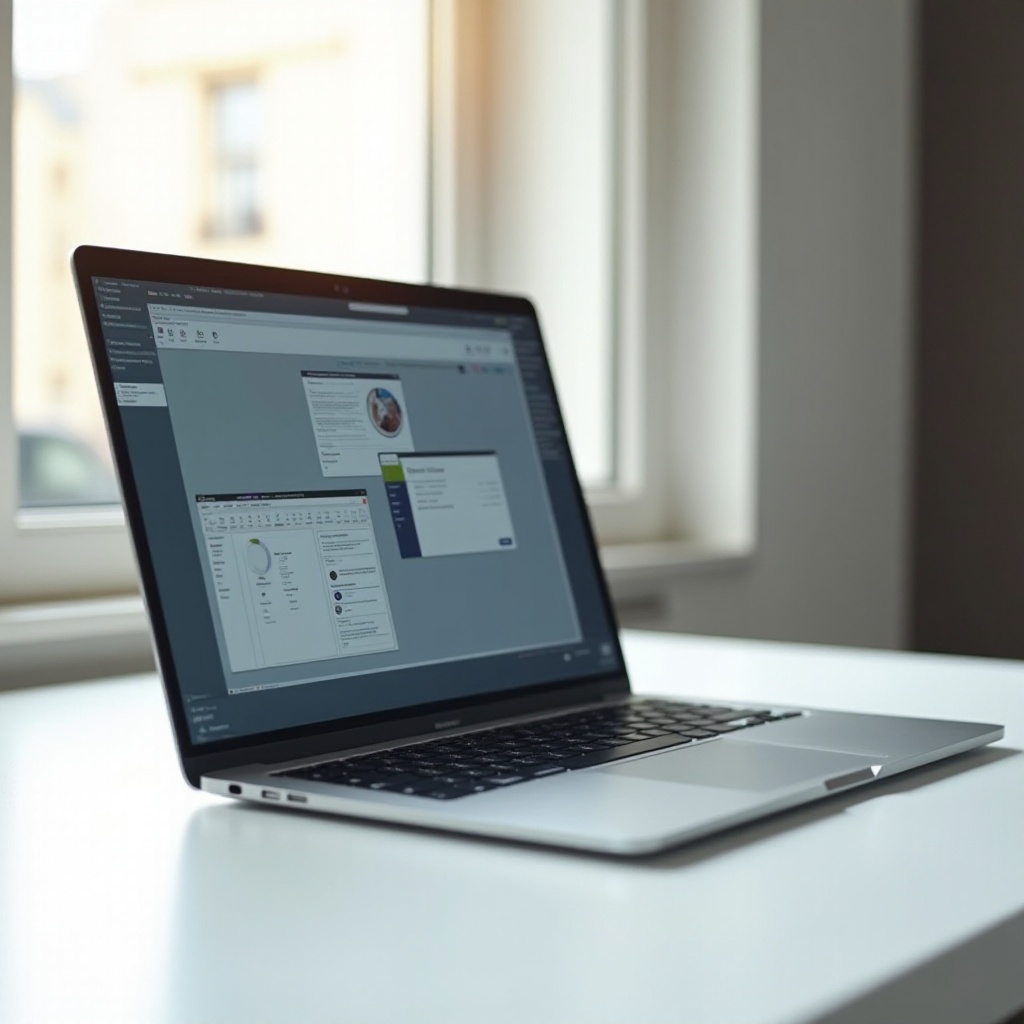
Built-in Screen Sharing Options
Many laptops come with built-in screen sharing functionalities that are easy and convenient to use.
Using Windows 11 Built-in Features
Windows 11 offers built-in capabilities like the ‘Project to this PC’ feature, which allows seamless screen sharing between Windows devices. Navigate to Settings > System > Projecting to this PC to set up your device for screen sharing.
Utilizing macOS Monterey or Later
For macOS users, AirPlay provides an efficient method to share your screen across Apple devices. Access System Preferences, select Displays, and choose the AirPlay Display dropdown to connect your device.
While these built-in features are beneficial, third-party applications often provide enhanced capabilities and cross-platform operability. Let’s explore these next.
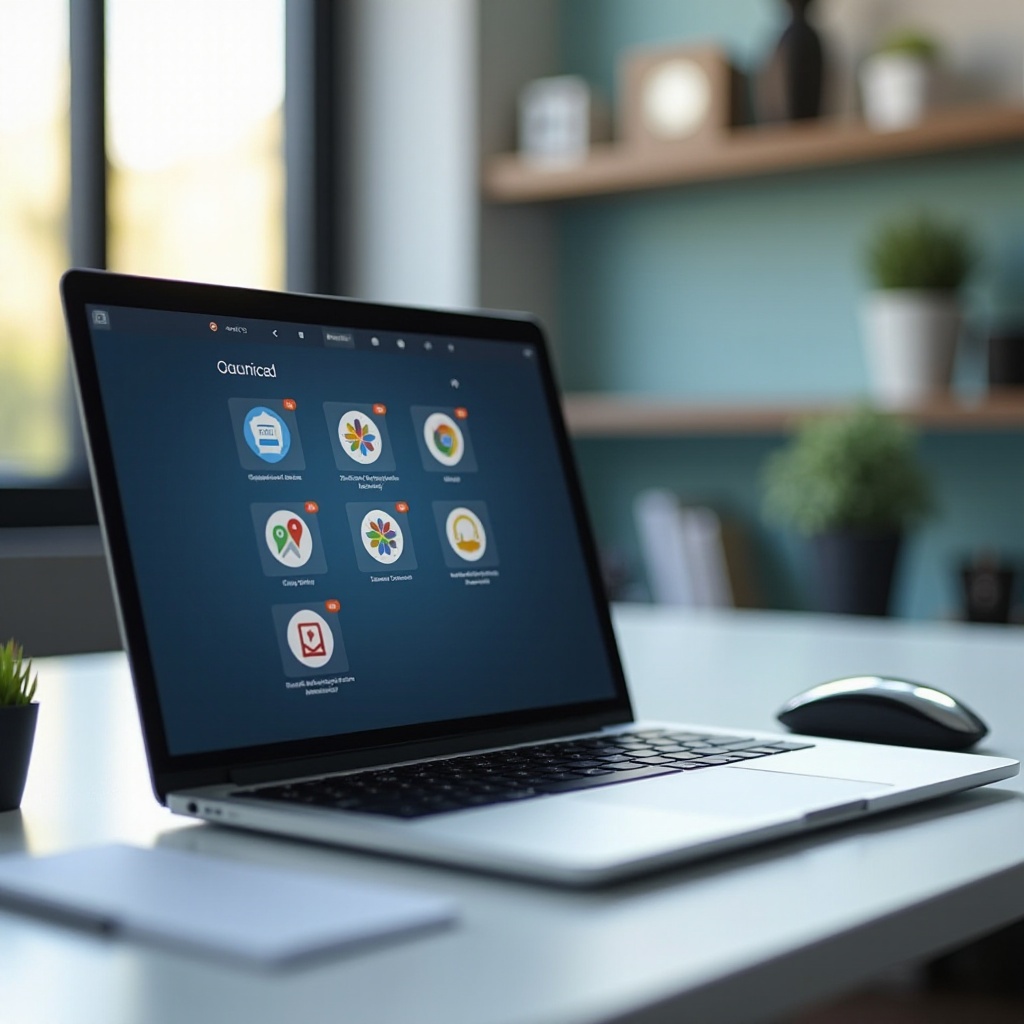
Third-party Screen Sharing Applications
When built-in solutions fall short, third-party applications offer versatile and robust screen sharing functionalities.
How to Share Your Screen on Zoom
- Launch Zoom and initiate or join a meeting.
- Click on ‘Share Screen’ at the bottom of the screen.
- Select the window or screen you wish to share.
- Hit ‘Share’ to commence sharing.
Sharing Your Screen via Microsoft Teams
- Begin or join a Teams meeting.
- Click the ‘Share’ button in the control panel.
- Choose from options to share your screen, window, or presentation.
- Click ‘Share’ to start sharing.
Utilizing Google Meet for Screen Sharing
- Within a Google Meet session, press the ‘Present Now’ button.
- Choose to share your entire screen, a window, or a tab.
- Select ‘Share’ to begin presenting.
These applications ensure fluid screen sharing across diverse systems, often providing additional features such as recording capabilities or collaborative tools. Security during screen sharing is essential, so let’s discuss that next.
Ensuring Security and Privacy
When sharing your screen, especially if sensitive data is involved, security should be a top priority.
Managing Permissions
Regularly audit the permissions granted to your screen sharing applications to ensure they have no unnecessary access to your data or system functionalities.
Protecting Sensitive Information
Close any unnecessary apps or windows and disable notifications before sharing your screen to avoid accidentally exposing sensitive data or experiencing interruptions.
Despite thorough preparation, screen sharing is not exempt from technical issues. Let’s look at how to troubleshoot these potential problems.
Troubleshooting Common Screen Sharing Issues
Quickly resolving technical issues is key to maintaining a smooth screen sharing session.
Solving Connectivity Problems
For connectivity issues, examine your internet connection. Reset your router or switch to a wired connection if problems persist.
Addressing Audio and Video Challenges
Address audio and video problems by ensuring all drivers are up to date. Test your microphone and camera settings in your screen sharing software to ensure they function correctly.
With these technical details covered, you’re ready to share your laptop screen efficiently and securely.
Conclusion
Screen sharing can be a straightforward and effective tool with the right preparation and knowledge. Whether using built-in OS capabilities or advanced third-party applications, understanding the process, prioritizing security, and knowing how to troubleshoot will allow you to share your screen confidently. With all the details provided in this guide, you’re ready to undertake screen sharing efficiently and securely.
Frequently Asked Questions
How do I share my screen on a laptop without an application?
Use native features like Windows ‘Project to this PC’ or macOS’s AirPlay.
Can I share my laptop screen with multiple people at once?
Yes, tools like Zoom, Microsoft Teams, and Google Meet allow screen sharing with multiple participants.
What should I do if my screen sharing is not working?
Check your internet connection, ensure software is up to date, and try rebooting your devices if issues continue.
