How to Use OBS Virtual Camera on Monkey
Introduction
Monkey is an engaging social networking platform, and using OBS (Open Broadcaster Software) Virtual Camera can enhance your experience. Whether you want to gain more control over the quality of your video or incorporate exciting visual effects, OBS Virtual Camera is the tool for you. This guide will help you understand how to set up OBS, configure the virtual camera, integrate it with Monkey, improve video quality, and troubleshoot common issues. Let’s get started!
Setting Up OBS
Before diving into the integration of OBS Virtual Camera with Monkey, you need to ensure that OBS Studio is correctly set up on your device. Here’s how:
- Download and install OBS Studio: Visit the OBS Studio website and download the appropriate version for your operating system (Windows, macOS, or Linux). Follow the installation prompts to set up the software on your device.
- Initial Configuration: Once installed, open OBS Studio. You will be prompted with the ‘Auto-Configuration Wizard.’ It’s recommended to go through this wizard to optimize OBS settings for your computer.
- Create a Scene: In OBS, you manage your video sources with ‘Scenes.’ Click the ‘+’ button in the ‘Scenes’ box to create a new one. Name it to keep things organized.
Now that you have OBS Studio set up, let’s configure the virtual camera feature to make it functional with Monkey.
Configuring OBS Virtual Camera
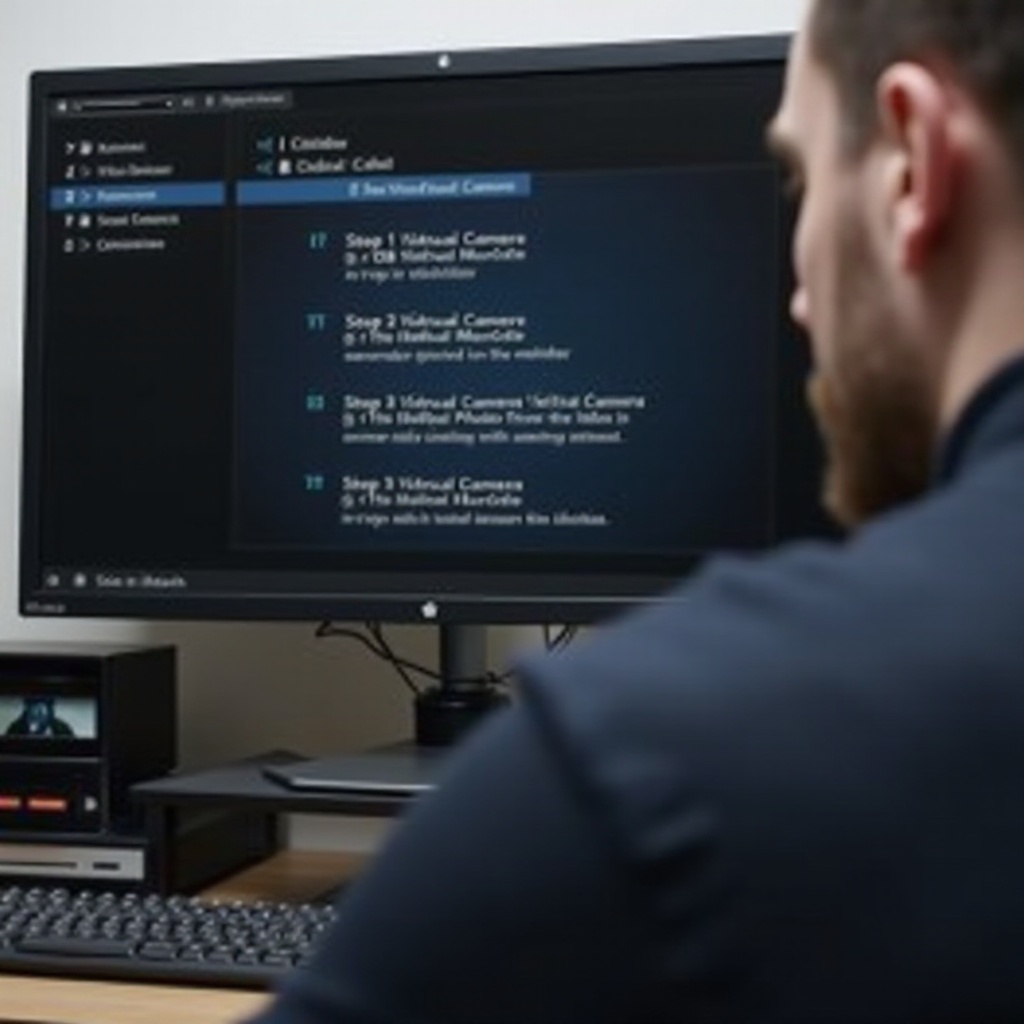
With OBS Studio ready, the next step involves configuring the Virtual Camera. Follow these steps:
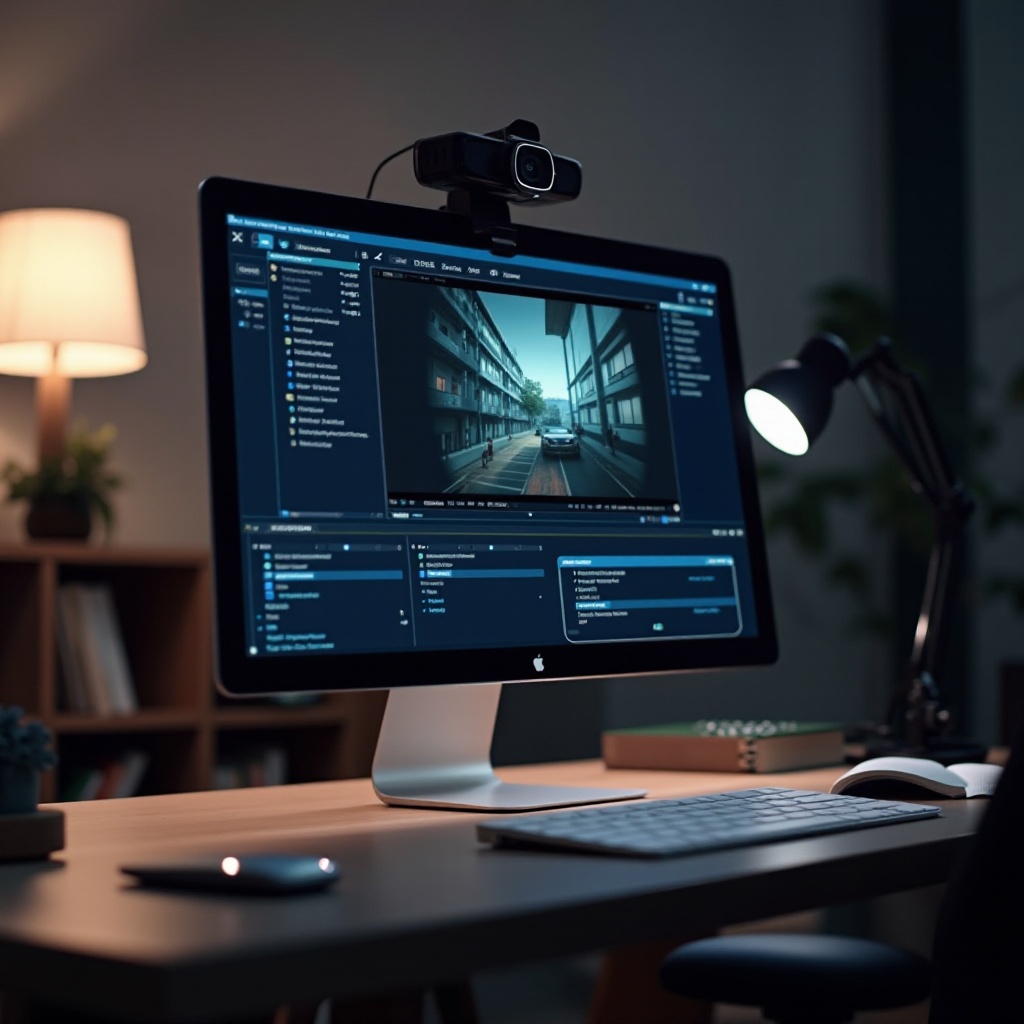
- Add Video Sources: Within your newly created Scene, click the ‘+’ button under the ‘Sources’ box. Add your desired video sources, such as a webcam, image, or video file. Adjust their placement and size within your scene.
- Install OBS Virtual Camera Plugin: The plugin is likely already installed with newer versions of OBS Studio. If not, navigate to
Toolsin the menu, thenVirtualCam. If you don’t see this option, you’ll need to install the plugin from the OBS website. - Start Virtual Camera: Click on
Start Virtual Camerawithin theToolsmenu. This action effectively transforms your OBS output stream into a webcam feed that can be selected in other applications.
Your OBS Virtual Camera is now configured and ready to use with Monkey. We’ll now move on to integrating it with the Monkey platform.
Integrating OBS Virtual Camera with Monkey
Connecting OBS Virtual Camera to Monkey is straightforward. Here are the steps:
- Open Monkey: Launch the Monkey application or visit the Monkey website and log in to your account.
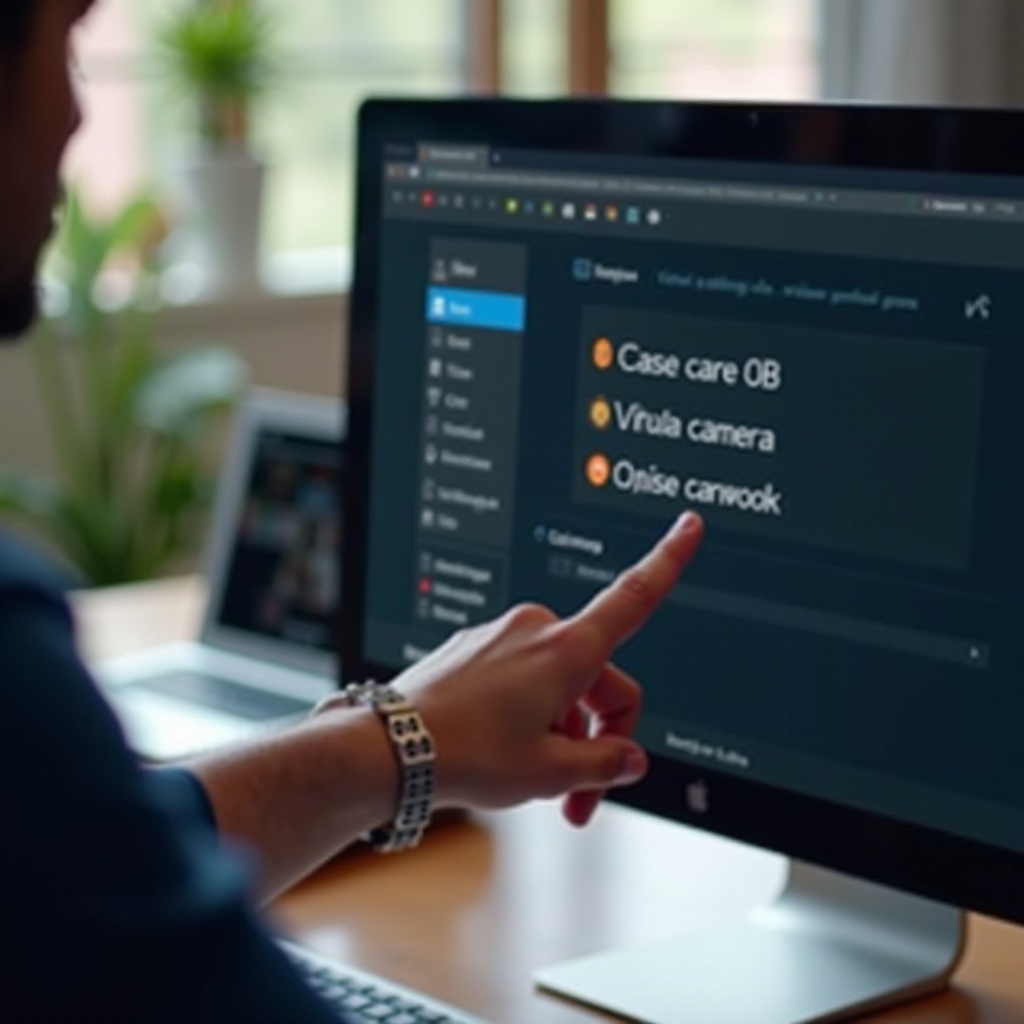
- Access Video Settings: Navigate to the video chat settings. This is typically found in the user menu or settings icon.
- Select OBS Virtual Camera: Within the video settings, there should be an option to select your preferred camera source. Choose ‘OBS-Camera’ or ‘OBS Virtual Camera’ from the dropdown menu. This action connects the OBS feed as your camera input.
- Test the Feed: Start a test call or video chat session to ensure that everything is working correctly. You should see the output from OBS as your video feed.
With these steps, OBS Virtual Camera is now integrated with Monkey. For even better video quality, it’s important to optimize your setup further.
Enhancing Your Video Quality
Improving video quality can make your video chats more enjoyable and professional. Here are some tips to enhance your OBS video feed on Monkey:
- Adjust Resolution and Frame Rate: In OBS, go to
Settings > Video. Set the Base (Canvas) Resolution and the Output (Scaled) Resolution to match the highest resolution supported by your camera and internet connection. A frame rate of 30 fps is often sufficient. - Lighting: Good lighting is key. Use soft, diffused light to avoid harsh shadows. Position your light sources in front of you rather than behind.
- Green Screen and Background: If you have a green screen, you can use the Chroma Key feature in OBS to replace your background with an image or video. This feature can make your video background more interesting.
- Audio Quality: High-quality audio enhances the overall experience. Use a good microphone and ensure audio settings in OBS are properly configured.
These enhancements will ensure that your video feed is clear, professional, and effective on Monkey.
Troubleshooting Common Issues
Sometimes, things might not work as expected. Here are solutions to common issues with OBS Virtual Camera on Monkey:
- Virtual Camera Option Not Appearing: Ensure that the Virtual Camera plugin is installed correctly in OBS. Restart both OBS and Monkey, and check your camera settings again.
- Lag or Sync Issues: If you experience video lag or sync issues, adjust the bitrate and resolution settings in OBS. Lower these settings slightly to see if the issue resolves.
- No Audio: Ensure that your audio source is properly configured in OBS. Check the audio settings within OBS to make sure your microphone is properly selected and the audio levels are adequate.
These troubleshooting steps will help you maintain smooth and uninterrupted video chats on Monkey using OBS Virtual Camera.
Conclusion
Using OBS Virtual Camera with Monkey significantly enhances your video chat experience by providing better video control and quality. By setting up OBS, configuring the virtual camera, integrating it with Monkey, and optimizing your video setup, you can create engaging and professional video chats. Follow this guide, and you’ll be ready to impress your friends or colleagues on Monkey.
Frequently Asked Questions
Can I use OBS virtual camera for other applications besides Monkey?
Yes, OBS Virtual Camera can be used with other video conferencing and streaming applications like Zoom, Skype, and Microsoft Teams.
What should I do if the virtual camera option is not showing in Monkey?
Ensure the OBS Virtual Camera plugin is installed and started. Restart both OBS and Monkey and check your camera settings again in Monkey.
How can I improve my video quality on Monkey using OBS?
Enhance lighting, adjust resolution and frame rate in OBS settings, use a good microphone, and employ background effects like Chroma Key if you have a green screen.