Mastering Samsung Camera Exposure Settings on Your Smartphone
Introduction
Samsung smartphones are respected for their top-tier camera capabilities, offering users a compact yet powerful photographic tool. To exploit this potential fully, mastering exposure settings is essential. Exposure settings can make a significant difference in challenging light situations or while capturing that flawless image. This comprehensive guide aims to unravel the intricacies of exposure settings on Samsung phones, offering practical advice for enhancing your photography skill set. By integrating these tips, you can elevate your photos and make the most of your Samsung camera’s features.
Understanding Exposure on Samsung Phones
Comprehending exposure is paramount to achieving photographical excellence. Exposure controls the brightness and contrast of your photos through three key elements: aperture, shutter speed, and ISO. Although these terms may sound technical, they are the building blocks of great photography on Samsung smartphones.
- Aperture: While fixed in smartphones, aperture influences depth of field and light reach into the camera lens.
- Shutter Speed: Dictates the duration of light exposure onto the camera sensor. Fast shutter speeds capture action crisply, while slower speeds introduce creative elements like motion blur.
- ISO: Modulates the camera sensor’s sensitivity, helping in low-light contexts at the risk of heightened noise levels.
With these concepts mastered, you can shape your photos’ artistic narrative through clever exposure manipulation.
Accessing and Adjusting Exposure Settings
Now with a firm grasp on exposure fundamentals, let’s delve into accessing and modifying these settings on your Samsung phone, aiming for optimal photographic outcomes.
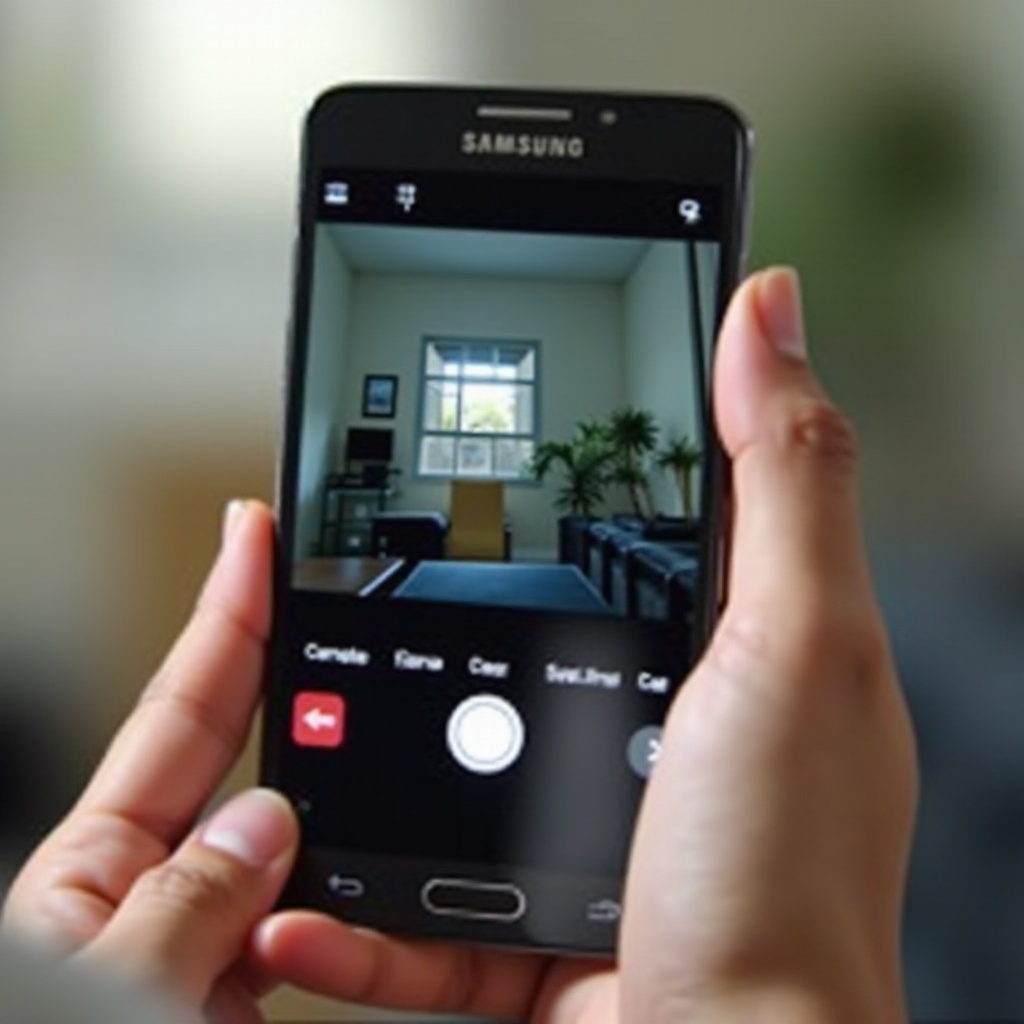
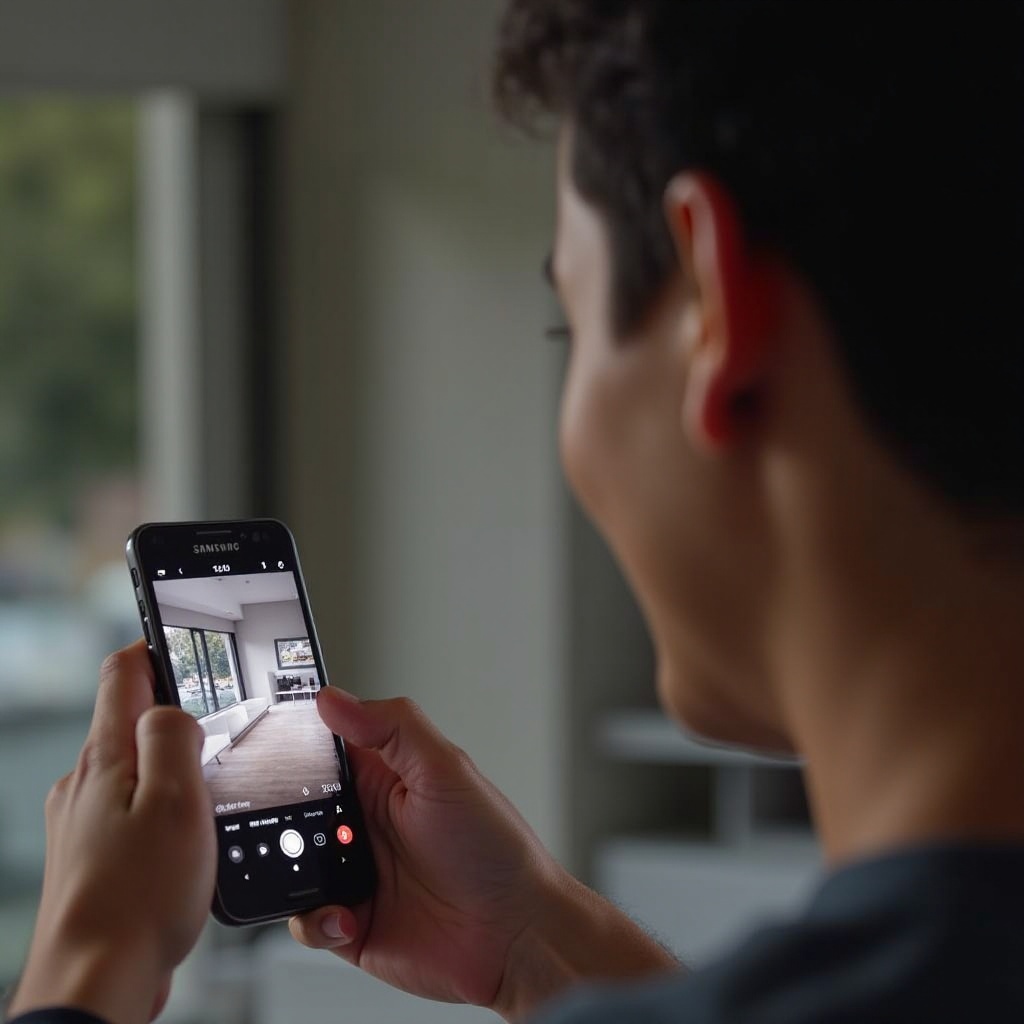
Navigating the Camera App
Accessing the extensive range of camera features is straightforward:
- Launch the Camera app on your Samsung device.
- Switch to either Photo or Pro mode to unleash setting capabilities.
- Locate the icons for ISO, aperture, and other essential controls, which are conveniently presented on-screen.
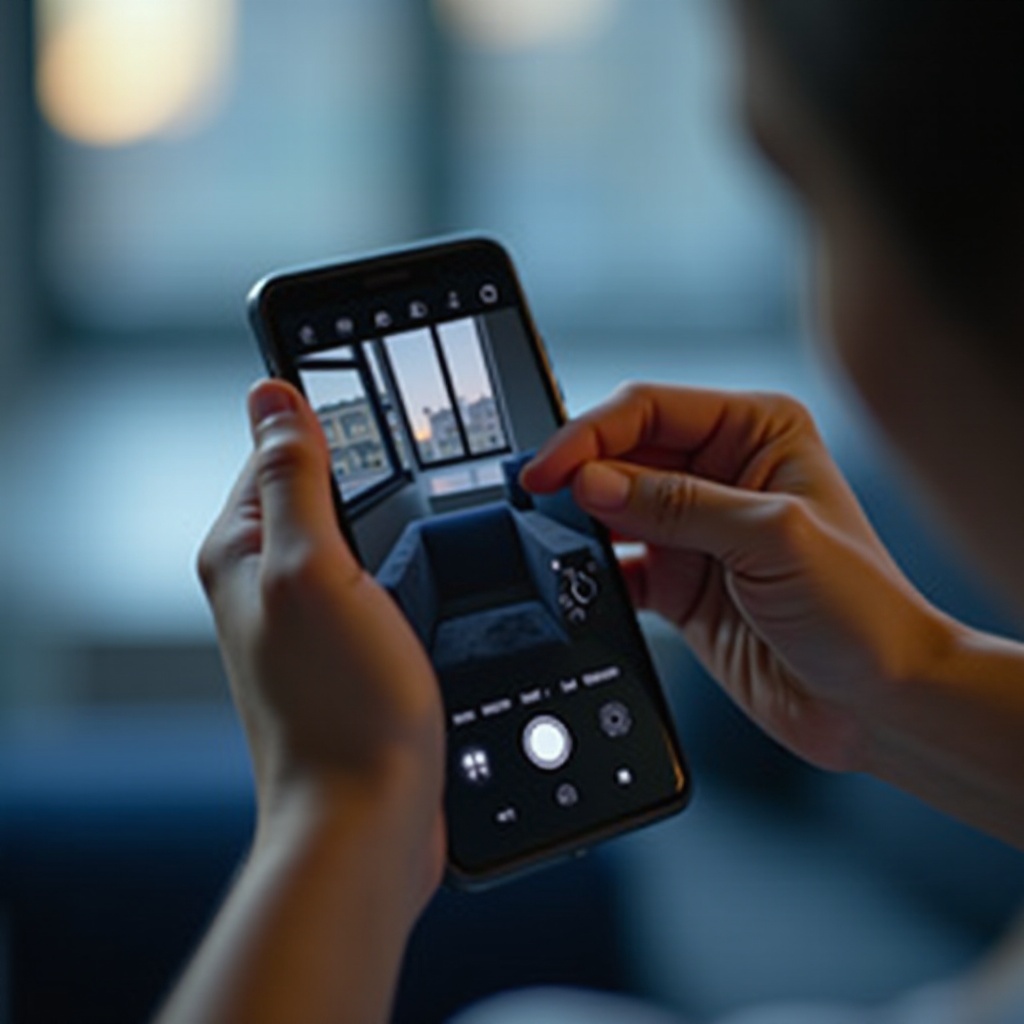
Manual vs. Auto Exposure Mode
Samsung smartphones facilitate both automated and manual exposure control, catering to diverse user demands:
- Auto Mode: Perfect for spontaneous shots, effortlessly adjusting exposure under varied lighting.
- Manual Mode: For those with an eye for detail, Pro mode enables explicit adjustments to ISO, shutter speed, and white balance, for images bearing your creative signature.
Step-by-Step Adjustment Process
To harness manual exposure settings, follow these steps:
- Select Pro Mode: Tap the icon to activate.
- Adjust ISO: Initiate at 100 or 200, modulating upwards if necessary.
- Modify Shutter Speed: Correlate with your subject’s motion—slower for serene nightlife, faster for athletic endeavors.
- Evaluate Exposure: Utilize the compensation slider for tailored brightness.
- Review Your Shot: Analyze for correctness in balance and clarity.
Practical Tips for Different Lighting Conditions
Having navigated exposure settings, it’s crucial to adapt them to various lighting conditions which form pivotal aspects of photography.
Low Light Photography
- Elevate ISO settings vigilantly to mitigate noise.
- Opt for reduced shutter speeds, utilizing tripods to prevent blurring and aid in capturing the faintest glimmers.
- Explore night mode settings for superior results.
Shooting in Direct Sunlight
- Assign the lowest feasible ISO settings to alleviate glare.
- Deploy faster shutter speeds to counteract overexposure.
- Utilize HDR mode proficiently for equilibrium in highlights and shadows.
Indoor and Artificial Light
- Fine-tune white balance to neutralize artificial lighting casts from bulbs like fluorescent.
- A modest ISO increment enables sharper images in lower inside light conditions.
- Strategically position yourself or subjects to harness the best available light sources, optimizing environment visuals.
Advanced Techniques and Features
Samsung smartphones boast sophisticated features for precise exposure adjustments, enhancing your photographic journeys.
Using HDR Mode
High Dynamic Range (HDR) mode is ideal for scenes with high contrast, amalgamating multiple exposure levels to preserve details in both luminous and shaded areas.
Understanding ISO Settings
Dabbling with ISO settings grants adaptability—lower values assure clarity in bright contexts, whereas higher values elevate low-light visibility with caution on noise interference.
Experimenting with Shutter Speed
Capitalize on slow shutter speeds creatively to manifest light trails or emphasize motion effects. Conversely, fast shutter speeds are favorable for capturing brisk actions.
Troubleshooting Common Exposure Issues
Understanding exposure errors and rectifications is fundamental. Should photos frequently appear overexposed or underexposed, adjust the shutter speed or ISO as required. For overexposure, reduce the ISO or resort to swifter shutter speeds. Underexposed photos require prolonged exposure time or heightened ISO. Continuously evaluate images to scrutinize your adjustments for optimal satisfaction.
Conclusion
Securing a command over Samsung camera exposure settings substantially advances your photographic versatility. By deliberately manipulating exposure, you confidently navigate any lighting scenario, imprinting your visual stories with finesse and crafting visually appealing images. Continue experimenting and refining techniques for sustained improvement in your photographic narrative.
Frequently Asked Questions
How do I fix overexposed photos on my Samsung phone?
To fix overexposure, reduce ISO, use a faster shutter speed, or adjust the exposure compensation slider in Pro mode to a minus setting.
What is the best exposure setting for low light conditions?
For low light, moderately increase ISO, use a slower shutter speed, and stabilize your phone with a tripod to capture clearer images.
Can I use third-party apps to enhance exposure control?
Yes, third-party apps like Camera FV-5 or Open Camera offer enhanced manual controls for ISO, shutter speed, and more granular adjustments.