How to Get Out a Broken Headphone Jack from Your iPad
Dealing with a broken headphone jack in your iPad can be a real nuisance, especially when it disrupts your listening experience. When your trusty headphones leave a piece of themselves behind, it’s crucial to resolve the issue swiftly to restore your iPad’s functionality. With the right guidance and tools, you can successfully remove the broken piece and enjoy seamless audio once again. Here’s a step-by-step approach to tackling this common issue.
Introduction
A broken headphone jack is more common than you might think and can quickly turn your iPad into a frustrating piece of technology. Addressing the situation promptly prevents further complications, like damage to the internal contacts of your device. This guide will empower you with practical solutions to remove the obstruction carefully, minimizing any potential damage to your iPad.
Understanding the Problem
Headphone jacks can break due to various reasons, most of which are accidental. Before diving into repair, it’s important to understand what causes the jack to break and how you can identify the problem effectively.
What Causes a Headphone Jack to Break?
Typically, breakage occurs due to factors such as excessive pressure applied to the headphone plug, improper removal techniques, or a defect in the headphones themselves. Often, users who yank the headphones out too quickly or at an awkward angle increase the risk of leaving the plug stuck.
Identifying the Signs of a Broken Jack
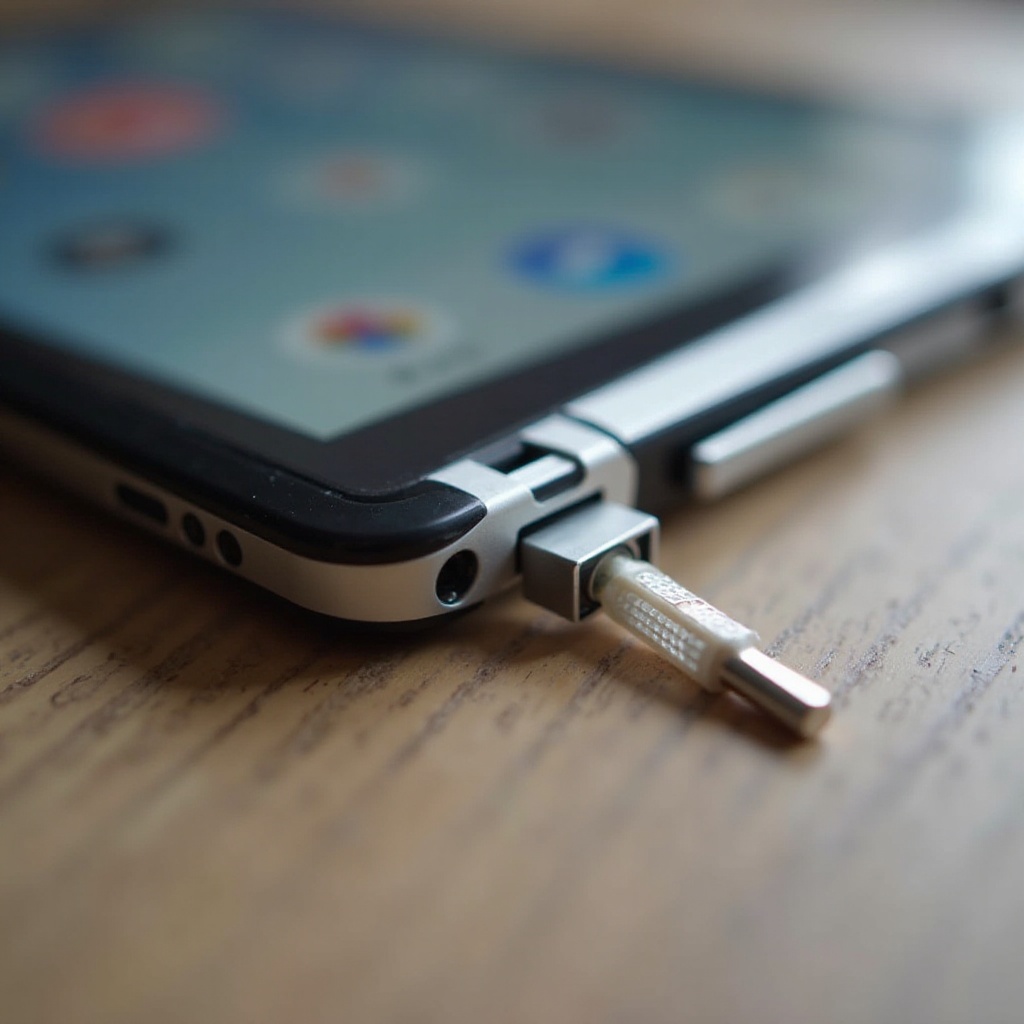
Determining whether the jack is broken often involves looking for specific signs. A key indicator is distorted or completely absent audio output. Additionally, visible remnants of the plug inside the jack or your iPad not recognizing the headphones also signal a broken jack.
Now that you understand the potential causes and signs of a broken headphone jack, it’s time to prepare for its removal. This requires having the right tools, ensuring both effectiveness and safety throughout the process.
Tools You’ll Need for the Job
Gathering the right tools is crucial to avoid further damage to your device. Having these items on hand will make the repair process smoother and more efficient.
Essential DIY Tools
- Tweezers: Use fine-tipped tweezers for reaching and gripping the broken piece.
- Paperclip: A straightened paperclip can serve as an impromptu extractor to pull out remnants.
- Superglue: For larger fragments, superglue can temporarily adhere the piece to an external object for removal.
Safety Equipment and Precautions
- Safety Glasses: Protect your eyes from flying debris during removal.
- Anti-static Wristband: Avoid static charges that can harm your device.
Always prioritize safety and ensure your working environment is clear of obstacles. Remember to power down your iPad to prevent any electrical mishaps.
Step-by-Step Removal Process
With tools on hand and safety measures in place, you’re ready to remove the broken headphone jack. Follow these steps carefully to achieve the best results.
Preparing Your iPad for Repair
- Turn off your iPad to prevent any electrical risks.
- Place your iPad on a clean, flat surface to maintain stability during the repair.
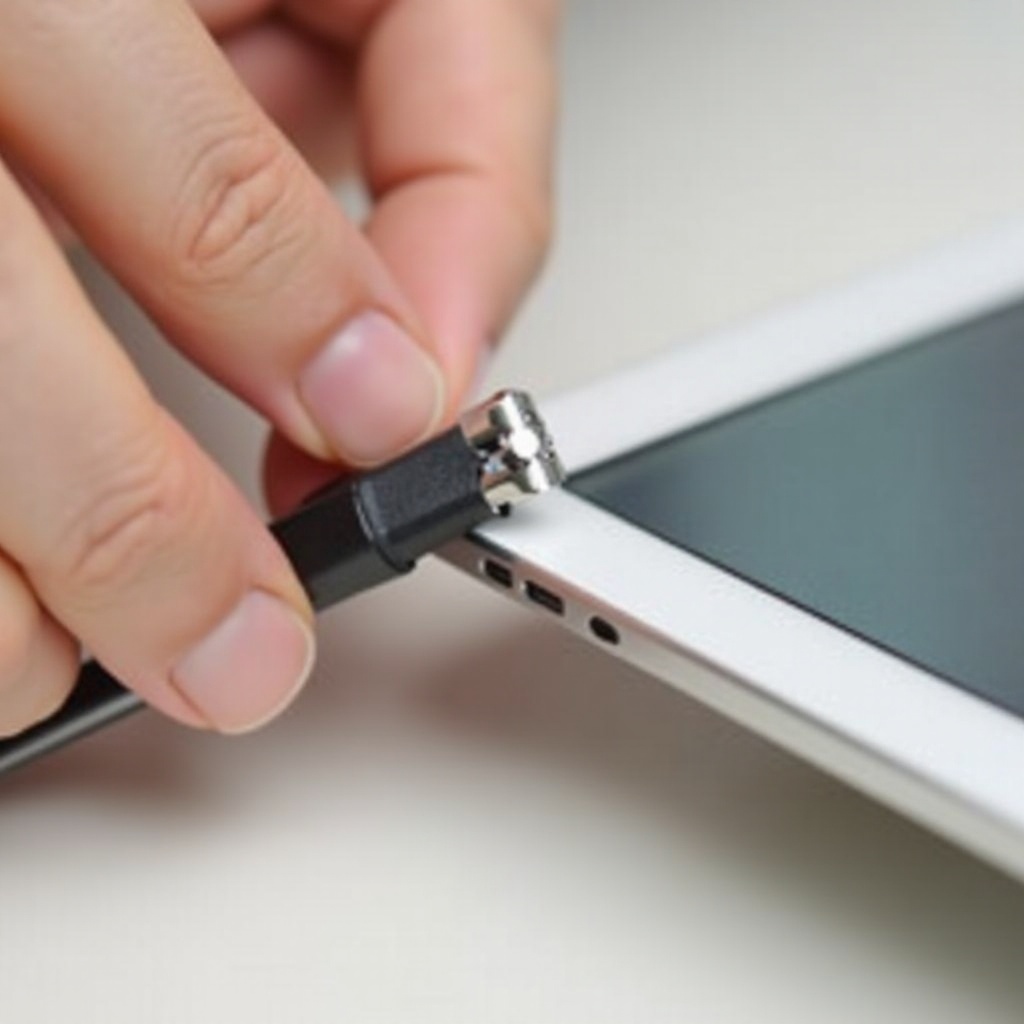
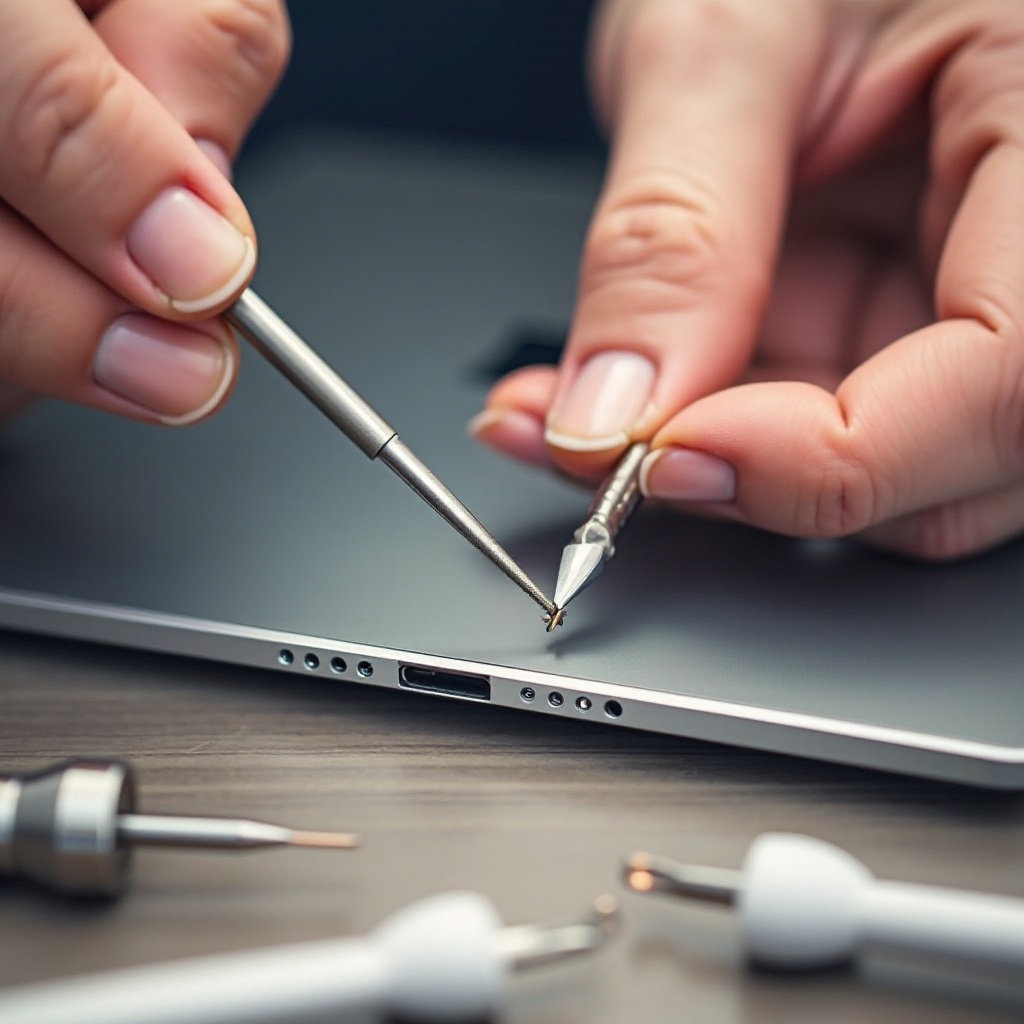
Using Tweezers or a Paperclip
Tweezers Method:
- Gently insert the tweezers into the jack, focusing on grasping the visible fragment.
- Carefully pull out the fragment, ensuring minimal force to prevent further damage.
Paperclip Method:
- Straighten a sturdy paperclip to use as a hook.
- Insert carefully and maneuver to hook onto the edge of the broken piece, pulling it out slowly.
These methods are efficient for direct access. However, if the piece is not easily reachable, the superglue technique might be more suitable.
Alternative Methods: Superglue Technique
For deeply lodged fragments:
- Apply a small amount of superglue onto a toothpick or similar slender object.
- Insert the object gently to make contact with the broken piece.
- Allow the superglue to set slightly, then gradually withdraw the entire assembly.
Exercise extreme caution with superglue to avoid bonding the jack’s internal contacts.
After successful removal, it’s crucial to verify that the iPad’s audio capabilities remain intact and take steps to prevent future incidents.
Post-Removal Tips and Maintenance
Post-removal care ensures your iPad continues to operate flawlessly. Verifying its functionality and taking preventative measures are key components.
Inspect Your Device for Damage
Carefully assess the headphone jack after removal to identify any unintentional damage. Use another set of headphones to verify sound quality and proper port function.
Preventative Measures for Future
- Remove headphones by firmly grasping the plug instead of the wire.
- Store headphones properly to avoid stress on the jack.
- Consider investing in a headphone extension to reduce wear and tear on your device’s audio port.
Continuing to use your iPad with care will prevent similar headaches down the line. However, should issues persist, professional assistance may be required.
When to Seek Professional Help
DIY solutions are practical, but they may not resolve every situation. If you’re uncomfortable with handling delicate components or suspect further internal damage, consulting a professional technician is advisable. They can manage repairs and prevent invalidating any warranties.
Conclusion
Being able to fix a broken headphone jack can relieve a lot of stress, keeping your iPad functional and ensuring you never miss a beat. You’ve now learned effective methods to extract the broken piece and prevent similar situations in the future. Through careful handling and maintenance, your iPad’s audio experience will remain uninterrupted.
Frequently Asked Questions
Can I prevent my headphone jack from breaking?
Yes, by handling your headphones with care, storing them properly, and using protective accessories, you can reduce the risk of breakage.
What should I do if tweezers don’t work?
Try using a straightened paperclip as an alternative. If the piece is too deep, consider the superglue technique or consult a professional.
Is using superglue safe for removing a broken jack?
When applied carefully, superglue can effectively aid in removing a stuck fragment. Exercise caution to avoid bonding the jack components together permanently.